
Perfect Vampire Blood Drip Cake

A show-stopping two-layer chocolate cake glazed with a glossy, deep-red blood drip and finished with dark chocolate ganache — eerie, elegant, and utterly delicious.

This cake became my Halloween party signature the year I decided to marry theatrical flair with classic chocolate comfort. I discovered the idea while experimenting with a corn syrup and cream mixture to create a glossy red drip that would hold its shine at room temperature. The result was so vibrant that friends joked it looked too realistic. I loved that it combined a moist, coffee-kissed chocolate crumb with a silky fake-blood drip that clung to the edges in dramatic rivulets. The texture contrasts between tender cake, smooth ganache, and glossy syrup made every bite memorable.
I first tested this on a crisp October afternoon and watched neighbors linger by the dessert table longer than by the bonfire. The recipe is forgiving enough for a confident beginner but rewards attention to detail. The coffee in the batter amplifies chocolate flavor without tasting like coffee. The corn syrup keeps the drip syrup viscous so it falls slowly, producing that perfect theatrical look. When plated, the slice reveals dark layers with glossy red accents that delight both adults and kids who don’t mind a little spooky fun.
Why You'll Love This Recipe
- Ready mostly in one hour plus cooling, this delivers dramatic results without exotic ingredients and uses pantry staples like flour, sugar, cocoa, and corn syrup.
- The coffee enhances cocoa depth so even modest cocoa powders taste intense; this means you can use what’s on hand and still get rich chocolate notes.
- Make-ahead friendly: layers can be baked and wrapped up to two days ahead or frozen for longer storage, making party planning easier.
- Corn syrup-based drip stays glossy at room temperature and creates long, theatrical drips that don’t run off immediately, giving you time to style the cake.
- Family-friendly appearance that’s spooky but still approachable for children, and easily adapted to dietary needs with simple swaps.
I remember serving this at a small gathering where skeptical friends were convinced I used professional props. Seeing people smile and then exclaim at how moist the cake was remains one of my favorite kitchen memories. When my niece asked for a second slice, I knew I had achieved the right balance of drama and flavor.
Ingredients
- All-purpose flour (2 cups): Use a reliable brand such as King Arthur or Pillsbury for consistent structure. Spoon into the measuring cup and level with a knife to avoid compacting flour which leads to dense cake.
- Granulated sugar (1 3/4 cups): Standard white sugar gives lift and tenderness; organic or cane sugar is fine but may darken the cake slightly.
- Cocoa powder (3/4 cup): Choose unsweetened Dutch-process for a deeper flavor or natural unsweetened for a brighter chocolate note. Sift to prevent lumps.
- Baking soda (2 tsp) and baking powder (1 tsp): Both provide balanced rise; ensure your baking powder is fresh for best oven spring.
- Salt (1 tsp): Fine sea salt enhances chocolate complexity; do not omit.
- Eggs (2): Room temperature eggs emulsify batter and give structure. Bring to room temperature for best incorporation.
- Buttermilk (1 cup): Adds tang and tenderness. If unavailable, make a substitute by adding 1 tbsp lemon juice or vinegar to a cup of milk and let sit 5 minutes.
- Strong black coffee (1 cup): Brewed and hot; it blooms cocoa and deepens chocolate notes without an overt coffee flavor.
- Vegetable oil (1/2 cup): Neutral oil keeps crumb moist for days. Canola or sunflower are good alternatives.
- Vanilla extract (2 tsp): Pure vanilla makes a small but meaningful difference; add at room temperature.
- Heavy cream (1 cup) and corn syrup (1/2 cup): These form the glossy red drip when heated together and tinted with food coloring.
- Red food coloring: Use gel colors for concentrated color without thinning the drip.
- Chocolate ganache (1 batch): A simple ganache made from semi-sweet chocolate and heavy cream provides deep, glossy decorations to finish the look.
Instructions
Prepare pans and oven: Preheat the oven to 350°F. Grease two 9-inch round pans with butter or nonstick spray and line the bottoms with parchment. Dust lightly with flour and tap out excess so the cake releases cleanly after baking. Mix dry ingredients: Sift or whisk together 2 cups flour, 1 3/4 cups sugar, 3/4 cup cocoa powder, 2 teaspoons baking soda, 1 teaspoon baking powder, and 1 teaspoon salt in a large bowl until evenly combined and aerated. This prevents pockets of baking powder and cocoa lumps. Add wet ingredients: In a separate bowl whisk 2 eggs, 1 cup buttermilk, 1 cup hot strong coffee, 1/2 cup vegetable oil, and 2 teaspoons vanilla extract. Pour into the dry ingredients and beat on medium speed until smooth, about 30 to 45 seconds. The batter will be loose; that is expected and gives a moist crumb. Bake the layers: Divide the batter evenly between the prepared pans. Bake for 30 to 35 minutes or until a toothpick inserted into the center comes out with a few moist crumbs. Avoid overbaking to retain moisture; a slightly underdone center yields a tender crumb after resting. Cool completely: Let the pans cool on a wire rack for 10 minutes, then invert the cakes onto the rack and peel off parchment. Cool them completely before assembling; warm layers make the drip run too quickly and melt the ganache. Make the blood drip: In a small saucepan, warm 1 cup heavy cream with 1/2 cup corn syrup over medium heat until just simmering. Remove from heat and transfer to a bowl. Add gel red food coloring a little at a time until you reach a deep, blood-red hue. Chill slightly until it thickens to a pourable but not watery consistency. Assemble and chill: Place one cooled layer on a cake board or plate and spread a thin layer of ganache or frosting. Top with the second layer and chill the stacked cake for 15 to 20 minutes to firm the crumb and make decorating easier. Apply the drip and finish: Remove the cake from the refrigerator. Spoon the red drip onto the center and gently nudge the edges so the syrup runs down naturally. Let the drip set for a few minutes, then pipe or spoon chocolate ganache decorations on top and at the base. Chill briefly to set the ganache before serving.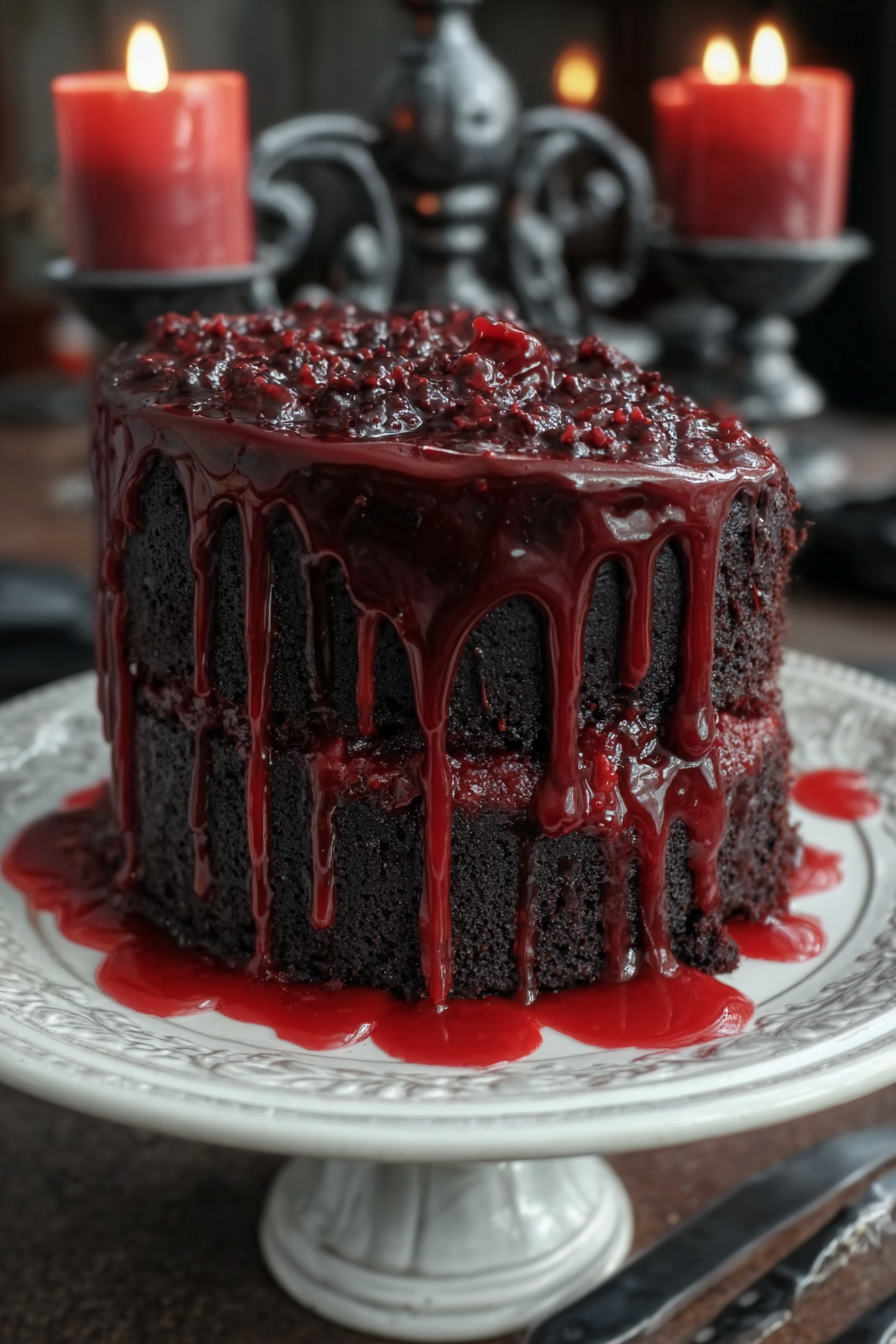
You Must Know
- The drip needs to be thick and glossy; if it is too thin it will run off. Cool it slightly until it coats the back of a spoon.
- Cake layers can be baked up to 48 hours in advance and wrapped tightly in plastic; bring to room temperature before assembling for best texture.
- This keeps well at room temperature for several hours; refrigerate for longer storage but allow slices to come to room temperature before serving for peak flavor.
- If you prefer a less sweet drip, reduce corn syrup by 2 tablespoons and add a touch of water to maintain pourability.
What I love most is how reliably this formula produces dramatic results without complex pastry techniques. Guests often ask for the recipe because the cake looks like a prop but tastes like a familiar, comforting chocolate layer cake. The combination of coffee, buttermilk, and oil yields a tender crumb that stays moist for days, which is why I frequently bake it for gatherings where I need a reliable centerpiece.

Storage Tips
Store the cake loosely covered at room temperature for up to 24 hours to preserve the drip’s glossy appearance. For longer storage, wrap tightly in plastic and refrigerate for up to four days; the frosting and drip will firm in the fridge, so allow the cake to return to room temperature before serving. If freezing, slice into individual portions, wrap each slice in plastic, and place in an airtight container for up to three months. Thaw in the refrigerator overnight and bring to room temperature before enjoying.
Ingredient Substitutions
To make this dairy-free, use full-fat coconut cream in place of heavy cream in the drip and a nondairy yogurt or coconut milk soured with lemon in place of buttermilk, and swap butter-based ganache for a dairy-free chocolate glaze. For gluten-free, use a 1-to-1 gluten-free flour blend and add 1/4 teaspoon xanthan gum if your blend lacks binding agents. For a richer chocolate flavor, replace half a cup of flour with 1/4 cup almond flour and reduce oil slightly; this will change texture but add density and flavor.
Serving Suggestions
Serve slices with a dollop of whipped cream or a scoop of vanilla ice cream to balance sweetness and provide temperature contrast. Garnish the top with sugared cranberries or chocolate shards for drama. For a themed party, plate slices with edible dry ice (handled carefully) for fog effect or place small roasted berries alongside to add tart brightness that complements the syrupy sweetness.
Cultural Background
This cake blends classic American chocolate-layer techniques with theatrical dessert presentation popularized in modern patisserie. The idea of decorative drips is rooted in contemporary cake styling where glossy glazes and mirror finishes create visual impact. The use of coffee to deepen chocolate flavor is a long-standing baker’s trick that has been used in both European and American chocolate confections for decades.
Seasonal Adaptations
In autumn, aromatics like cinnamon or a pinch of ground cloves in the batter add warmth. For winter parties, swap the red drip for a spiced cranberry reduction for tartness and texture. In spring, lighten the decoration with fresh berries and edible flowers while keeping the glossy drip for contrast. Summer gatherings benefit from smaller individual versions using cupcakes topped with the same drip and ganache accents.
Meal Prep Tips
Bake layers up to two days ahead and keep wrapped at room temperature. Make the ganache and drip the day of serving for the freshest shine; ganache can be rewarmed gently over a double boiler to loosen. Assemble and decorate in the hour before guests arrive to maintain the best texture of drip and ganache. Use a chilled cake turntable for neater application and an offset spatula to smooth ganache quickly.
Whether you’re making this for a spooky celebration or a playful dinner, this cake balances theatrical presentation with approachable technique. It’s sturdy enough for transport and forgiving enough for first-timers while offering details for experienced bakers to perfect.
Pro Tips
Allow layers to cool completely before assembling to prevent the drip from melting.
Use hot brewed coffee to bloom the cocoa and intensify chocolate flavor.
Chill the assembled cake briefly before decorating to make the surface firm and easy to work with.
When heating the cream and corn syrup, do not boil; heat just to a simmer to preserve texture.
Apply the drip with a spoon from the center and nudge edges to control the length of each run.
This nourishing perfect vampire blood drip cake recipe is sure to be a staple in your kitchen. Enjoy every moist, high protein slice — it is perfect for breakfast or as a wholesome snack any time.
FAQs about Recipes
Can I make the layers ahead of time?
Yes. Bake layers 1 to 2 days ahead, wrap tightly in plastic, and keep at room temperature in a cool place. Add drip and ganache the day you serve.
How do I get a deep red color without making the drip too thin?
Use gel food coloring for a concentrated, vibrant red without thinning the syrup. Add color a little at a time.
Tags
Perfect Vampire Blood Drip Cake
This Perfect Vampire Blood Drip Cake recipe makes perfectly juicy, tender, and flavorful steak every time! Serve with potatoes and a side salad for an unforgettable dinner in under 30 minutes.
Ingredients
Cake Batter
Blood Drip
Filling & Finish
Instructions
Prepare pans and oven
Preheat oven to 350°F. Grease two 9-inch round pans, line with parchment, and dust with flour. This ensures easy release and even baking.
Combine dry ingredients
Whisk together flour, sugar, cocoa, baking soda, baking powder, and salt until evenly mixed and aerated, preventing lumps and uneven rise.
Mix wet ingredients
In a separate bowl, whisk eggs, buttermilk, hot coffee, oil, and vanilla. Stir into dry mix until smooth; batter will be loose and pourable.
Bake layers
Divide batter between pans and bake for 30 to 35 minutes until a toothpick inserted comes out with a few moist crumbs. Cool in pans 10 minutes, then turn out onto wire racks.
Prepare the drip
Heat heavy cream and corn syrup until just simmering, remove from heat, then tint with gel red food coloring to a deep shade. Chill slightly to thicken to a pourable consistency.
Assemble cake
Place one cooled layer on a serving plate, spread ganache or frosting, add second layer, and chill for 15 to 20 minutes so the surface firms for decoration.
Apply the drip
Spoon the red syrup onto the cake center and gently encourage the edges so the drip runs down in natural rivulets. Work quickly while drip is pourable but not hot.
Finish with ganache
Decorate with chocolate ganache dollops or piping. Chill briefly to set before slicing and serving.
Last Step: Please leave a rating and comment letting us know how you liked this recipe! This helps our business to thrive and continue providing free, high-quality recipes for you.
Nutrition
Did You Make This?
Leave a comment & rating below or tag
@veralkitchen on social media!
Categories:
You might also like...
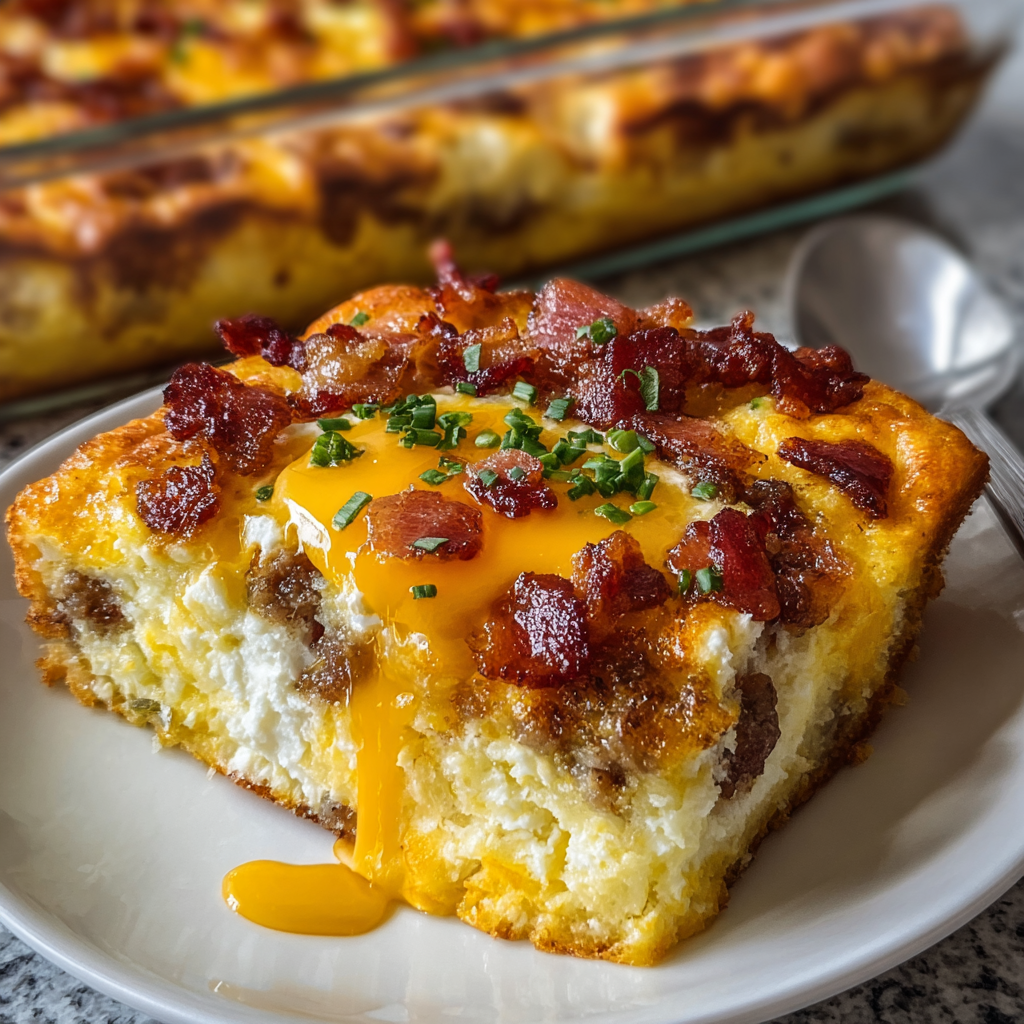
Crack Breakfast Casserole
A decadent, crowd-pleasing layered casserole with sausage, bacon, tender hash browns, and a creamy ranch-egg custard topped with melty cheddar.
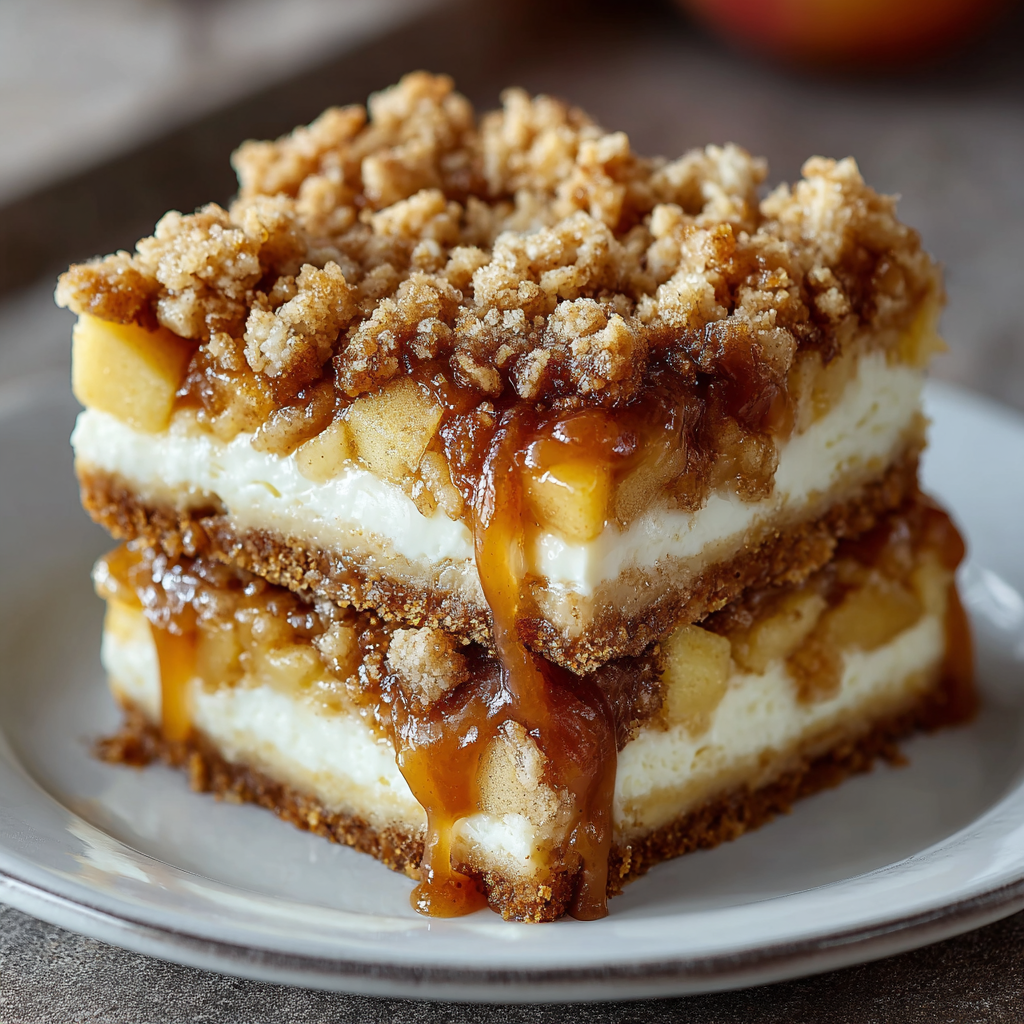
Apple Crisp Cheesecake Bars
Buttery crust, a creamy cheesecake center, cinnamon-scented apples, and a crunchy oat topping—these bars are a brunch-ready hybrid dessert that’s irresistible.

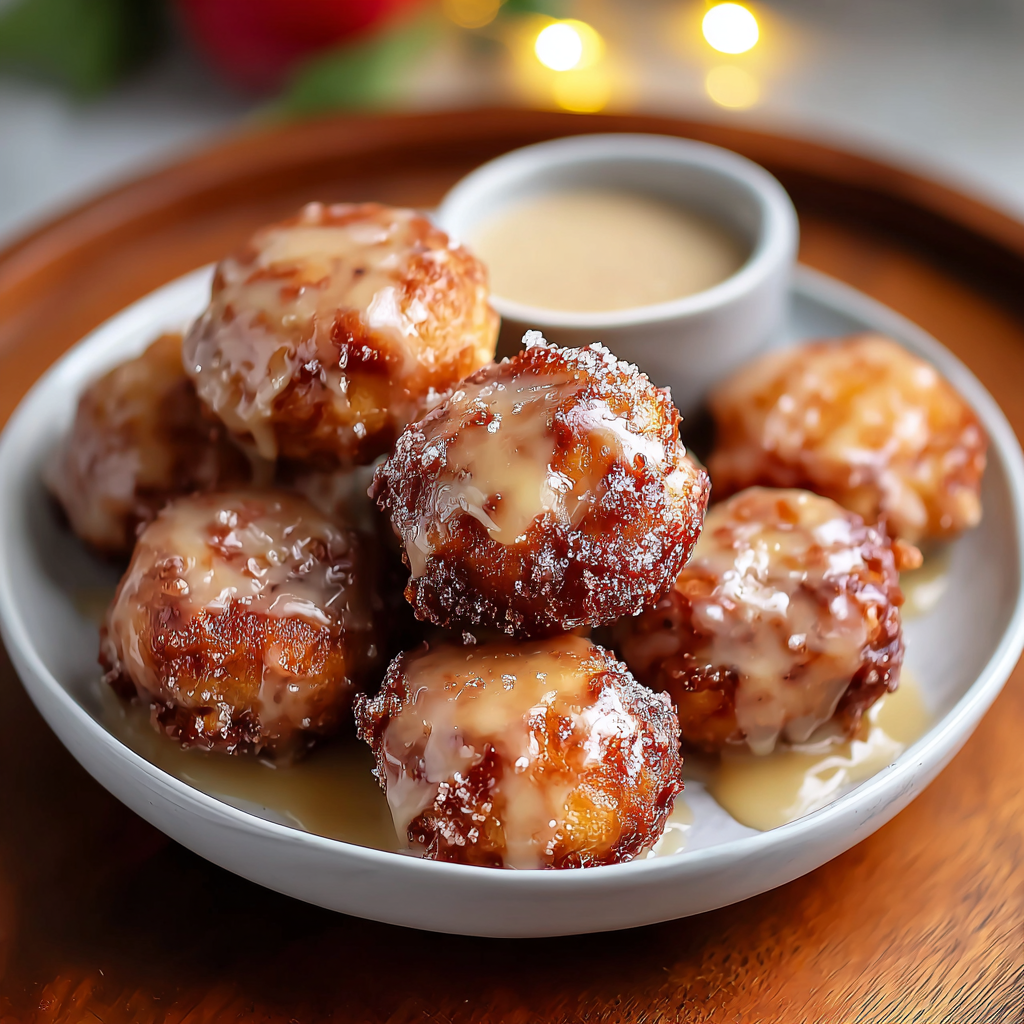
Classic Apple Crumble
A warm, comforting apple crumble with a buttery, crumbly topping and tart-sweet Granny Smith filling—perfect with a scoop of vanilla ice cream.
Did You Make This?
Leave a comment & rating below or tag @veralkitchen on social media!
Rate This Recipe
Share This Recipe
Enjoyed this recipe? Share it with friends and family, and don't forget to leave a review!
Comments (1)
This recipe looks amazing! Can't wait to try it.
Comments are stored locally in your browser. Server comments are displayed alongside your local comments.
Hi, I'm Julia!
What's Popular
Get My 30-Minute Meals email series!
Quick and easy dinner ideas delivered to your inbox.