
Homemade French Croissants

Flaky, buttery croissants made at home with straightforward folding and chilling steps. Learn technique, timing, and troubleshooting for bakery-quality results.

This recipe is my attempt to capture the small bakery down the street that used to fill my mornings with warm, buttery aromas. I discovered this approach after several weekends of trial and error: sometimes the butter leaked, sometimes the layers were tight and dense, and sometimes the exterior browned too quickly. Once I slowed down the folding, kept ingredients cold, and learned the visual cues for proofing, the results turned into golden crescents that my family now begs for on Sunday mornings. The texture—multiple fragile layers that shatter gently under your fork while the interior remains soft and slightly chewy—is what keeps me coming back.
There is something ritualistic about making croissants: measuring, chilling, rolling, and folding with calm, steady hands. I usually start the dough in the evening to give myself breathing room for the chill periods. Croissants reward patience. When I place the finished pastries on the table, the way the butter scent fills the kitchen and the crisp flakes fall away when you tear one open always brings back memories of travel and slow breakfasts. If you've never made laminated dough at home, this guide will walk you through the technique, the common pitfalls, and the little adjustments that make supermarket croissants pale in comparison.
Why You'll Love This Recipe
- Produces authentic, layered pastries using basic pantry staples: flour, yeast, butter, sugar, salt, and milk—no specialty flours required.
- Designed for home bakers: step-by-step folding sequence with clear visual cues and chilling times to prevent butter leakage.
- Flexible schedule: dough can be refrigerated overnight between turns to fit into a busy day without sacrificing flakiness.
- Uses one standard block of butter shaped into a beurrage for consistent lamination and reliable lift during baking.
- Yields about a dozen croissants and includes make-ahead and freezing instructions so you can bake fresh batches on demand.
My family prefers the croissants warm and slightly open for jam and coffee. After sharing this with friends, I often get messages about how the second folding made the difference. That small change—patience with chilling—transformed the texture for many home bakers who tried this method.
Ingredients
- All-purpose flour (4 cups): Use a reliable brand like King Arthur or Pillsbury for consistent protein content. Sift if your flour is compacted; the flour gives structure to the layers and determines how tender the crumb becomes.
- Granulated sugar (1/4 cup): Adds a touch of sweetness that enhances browning and flavor without making the pastry overtly sweet. White sugar is traditional—avoid strong flavored sugars.
- Salt (1 tablespoon): Balances the butter and develops flavor. Use fine sea salt or kosher salt measured by weight when possible for accuracy.
- Active dry yeast (1 tablespoon): Proof in warm milk (about 110°F) to ensure liveliness. Instant yeast can substitute—use 2 teaspoons less and mix directly with flour.
- Warm milk (1 1/4 cups): Whole milk is best for richness; warm to about 105–115°F to activate yeast but not kill it. Milk provides tenderness and a slightly richer crumb than water.
- Melted unsalted butter (2 tablespoons): Incorporated into the dough to enrich it without weakening the lamination. Use unsalted so you can control final seasoning.
- Unsalted butter for the block (1 cup): Very cold, high-quality European-style butter if possible (higher fat gives better flavor and flake). Shape into a flat 6-inch square between parchment.
- Egg wash (1 egg + 1 tablespoon milk): Brushed gently for a glossy golden finish; use one whole egg for richness and an extra splash of milk to thin the wash.
Instructions
Prepare the détrempe (dough): In a large bowl or stand mixer fitted with a dough hook, combine 4 cups flour, 1/4 cup sugar, and 1 tablespoon salt. Dissolve 1 tablespoon active dry yeast in 1 1/4 cups warm milk (110°F) and wait until foamy, about 5–10 minutes. Add the milk-yeast and 2 tablespoons melted butter to the dry mix and knead just until smooth, about 3–5 minutes. The dough should be soft but not sticky; if too wet, add up to 1 tablespoon flour at a time. Wrap and chill at least 30 minutes until firm. Shape the butter block (beurrage): Place 1 cup cold unsalted butter between two sheets of parchment. Use a rolling pin to pound and roll the butter into a firm 6-inch square. If the butter becomes too soft, return it to the refrigerator for 10–15 minutes. The block should be pliable but cold—about the same stiffness as the chilled dough. Encasing the butter: Roll the chilled dough into a 12-inch square. Place the butter block diagonally in the center so its corners point to the middle of each dough side. Fold the dough corners over the butter to fully enclose it, pressing seams gently to seal. Your package should look like a square pocket. First turn — roll and fold: On a lightly floured surface, roll the dough into an 8 by 20-inch rectangle. Fold the short third over the center, then fold the remaining third on top, like a business letter. This is one turn. Wrap in plastic and chill 30 minutes to rest and firm the butter. Second and third turns: Repeat the rolling to 8 by 20 inches and fold for a second turn, then chill 30 minutes. Perform a third turn the same way. Each turn increases visible layers; keep dough and butter cold to avoid leakage. If the butter softens, chill between passes. Laminate and shape: After the final chill, roll the dough into a large rectangle about 1/4-inch thick. Trim edges for straight lines and cut triangles approximately 5 inches wide at the base. Using a sharp knife or pizza cutter, score a small slit at the base of each triangle, gently stretch, then roll from base toward the tip to form crescents. Tuck the tip under the bottom to prevent unrolling. Proof the croissants: Place shaped croissants on parchment-lined baking sheets, cover loosely with plastic or a damp towel, and let rise at room temperature 1.5–2 hours until softly puffy and slightly jiggly but not doubled in size. The interior should feel airy when prodded gently. Egg wash and bake: Preheat oven to 400°F (200°C). Whisk 1 egg with 1 tablespoon milk and brush gently to avoid deflating layers. Bake 18–22 minutes on the center rack, rotating pans halfway through, until deeply golden and crisp. Internal temperature should be about 200°F if measured. Cool on a wire rack at least 10 minutes before serving.
You Must Know
- Temperature matters: keep ingredients and workspace cool to maintain butter integrity and achieve distinct layers.
- Chill between turns: at least 30 minutes per rest ensures a cold, firm butter block and prevents leakage.
- Proofing cues: croissants are ready for the oven when noticeably puffy and jiggly, not fully doubled.
- Freezing: unbaked shaped croissants freeze well for up to 3 months; bake from frozen adding 5–8 minutes to baking time.
My favorite aspect is the simple joy of puncturing a fresh croissant and seeing those clear layers. A single bite brings a mix of crisp flakes and tender, buttery crumb that feels celebratory. Over the years, friends have told me this method finally made laminated dough approachable, especially when they slowed down and respected the chilling times.
Storage Tips
Store cooled croissants in an airtight container at room temperature for up to 24 hours to preserve crispness; they are best within the first day. For longer storage, wrap each croissant tightly in plastic wrap and freeze up to 3 months. To reheat, thaw refrigerated pastries at room temperature for 20–30 minutes then refresh in a 350°F oven for 5–8 minutes. From frozen, bake at 375°F for 8–12 minutes until heated through and crisp. Avoid microwaving, which makes layers soggy.
Ingredient Substitutions
If European-style butter is unavailable, use the best unsalted butter you can find and keep it cold. For a dairy-free version, use a high-fat plant-based butter with a similar fat content and follow the same chilling rules, though results may vary; flavor and flake may be slightly different. Instant yeast substitutes easily (reduce by 2 teaspoons and mix into dry ingredients). For a slightly richer dough, swap 1 tablespoon of milk for heavy cream—expect a more tender crumb.
Serving Suggestions
Serve warm with salted butter, high-quality jam, Nutella, or thinly sliced ham and gruyere for a savory twist. For brunch, pair with strong coffee, fresh fruit, and soft cheeses like brie. For a decadent dessert, slice warm croissants and layer with chocolate or pastry cream. Garnish with a light dusting of powdered sugar or a drizzle of honey for seasonal presentations.

Cultural Background
Croissants trace their lineage to Viennese kipferl, but the laminated croissant as we know it developed in France and became emblematic of French breakfast culture. The technique of layering dough and fat evolved in European baking salons and became a bakery staple by the 19th century. Regional variations exist across France and beyond, from filled pains au chocolat to savory iterations in boulangeries.
Seasonal Adaptations
Adapt croissants for seasons easily: in autumn, add a thin layer of spiced apple compote before rolling; in winter, incorporate orange zest into the dough or egg wash for a citrus aroma; spring calls for light lemon curd fillings and fresh berries; summer pairs well with chilled savory fillings like tomato confit and basil. Adjust proofing slightly in warmer months—shorter room proofs and more frequent chilling help maintain layers.
Meal Prep Tips
For batch cooking, prepare and shape croissants one day and freeze them on a tray before transferring to airtight bags. Thaw shaped pieces in the refrigerator overnight, then allow a brief warm proof before baking. Keep extra dough turns refrigerated overnight between processes when time is limited—this slow approach often improves flavor and handling. Use silicone mats and rimmed baking sheets to manage spreading during baking.
Making croissants at home is a practice in patience and observation, but the payoff—a plate of warm, layered pastries shared with loved ones—is worth every turn of the rolling pin. Enjoy the process and make the method your own.
Pro Tips
Keep all ingredients, especially butter, cold to prevent smearing during lamination.
Chill the dough between turns for at least 30 minutes; longer chills are acceptable and can improve handling.
Proof croissants until puffy and jiggly rather than doubled; overproofing reduces oven spring.
Use a sharp cutter and minimal handling when shaping to preserve layers.
Freeze shaped croissants on a tray before bagging to maintain shape and ease storage.
This nourishing homemade french croissants recipe is sure to be a staple in your kitchen. Enjoy every moist, high protein slice — it is perfect for breakfast or as a wholesome snack any time.
Tags
Homemade French Croissants
This Homemade French Croissants recipe makes perfectly juicy, tender, and flavorful steak every time! Serve with potatoes and a side salad for an unforgettable dinner in under 30 minutes.
Ingredients
Dough (détrempe)
Butter block (beurrage)
Egg wash
Instructions
Make the dough
Combine flour, sugar, and salt in a bowl. Bloom yeast in warm milk until foamy, then mix into dry ingredients with melted butter. Knead briefly until smooth, wrap, and chill 30 minutes.
Prepare the butter block
Shape 1 cup cold butter between parchment into a 6-inch square. Keep cold and firm; chill if it softens during shaping.
Encapsulate butter
Roll dough to a 12-inch square, place butter diagonally in the center, and fold dough corners over to enclose completely. Seal seams gently.
First turn
Roll the package to an 8x20-inch rectangle and fold into thirds. Wrap and chill 30 minutes to relax the gluten and firm the butter.
Second and third turns
Repeat rolling and folding two more times, chilling 30 minutes between turns. Keep the dough cold to protect layers.
Laminate and shape
Roll to 1/4-inch thickness, trim edges, cut triangles approximately 5 inches at the base, stretch slightly, and roll from base to tip into crescents.
Proof
Place shaped pieces on lined trays, cover loosely, and proof at room temperature 1.5–2 hours until puffy and slightly jiggly.
Bake
Preheat oven to 400°F. Brush with egg wash and bake 18–22 minutes until deep golden. Rotate pans halfway for even browning.
Cool and serve
Cool on a wire rack at least 10 minutes. Serve warm or store according to storage guidelines.
Last Step: Please leave a rating and comment letting us know how you liked this recipe! This helps our business to thrive and continue providing free, high-quality recipes for you.
Nutrition
Did You Make This?
Leave a comment & rating below or tag
@veralkitchen on social media!
Categories:
You might also like...

Crack Breakfast Casserole
A decadent, crowd-pleasing layered casserole with sausage, bacon, tender hash browns, and a creamy ranch-egg custard topped with melty cheddar.
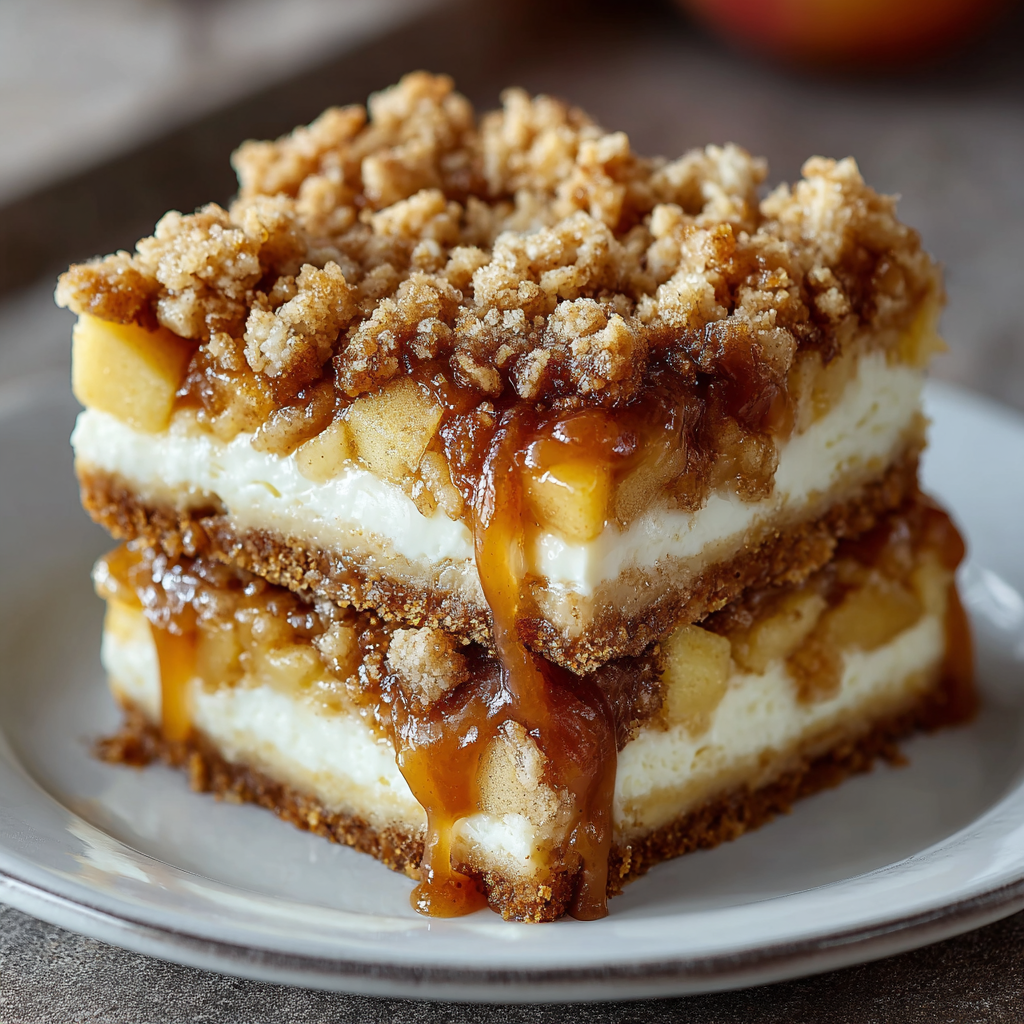
Apple Crisp Cheesecake Bars
Buttery crust, a creamy cheesecake center, cinnamon-scented apples, and a crunchy oat topping—these bars are a brunch-ready hybrid dessert that’s irresistible.

Classic Apple Crumble
A warm, comforting apple crumble with a buttery, crumbly topping and tart-sweet Granny Smith filling—perfect with a scoop of vanilla ice cream.
Did You Make This?
Leave a comment & rating below or tag @veralkitchen on social media!
Rate This Recipe
Share This Recipe
Enjoyed this recipe? Share it with friends and family, and don't forget to leave a review!
Comments (1)
This recipe looks amazing! Can't wait to try it.
Comments are stored locally in your browser. Server comments are displayed alongside your local comments.
Hi, I'm Julia!
What's Popular

Get My 30-Minute Meals email series!
Quick and easy dinner ideas delivered to your inbox.